G-code
My experiments with 3D printing and generative design
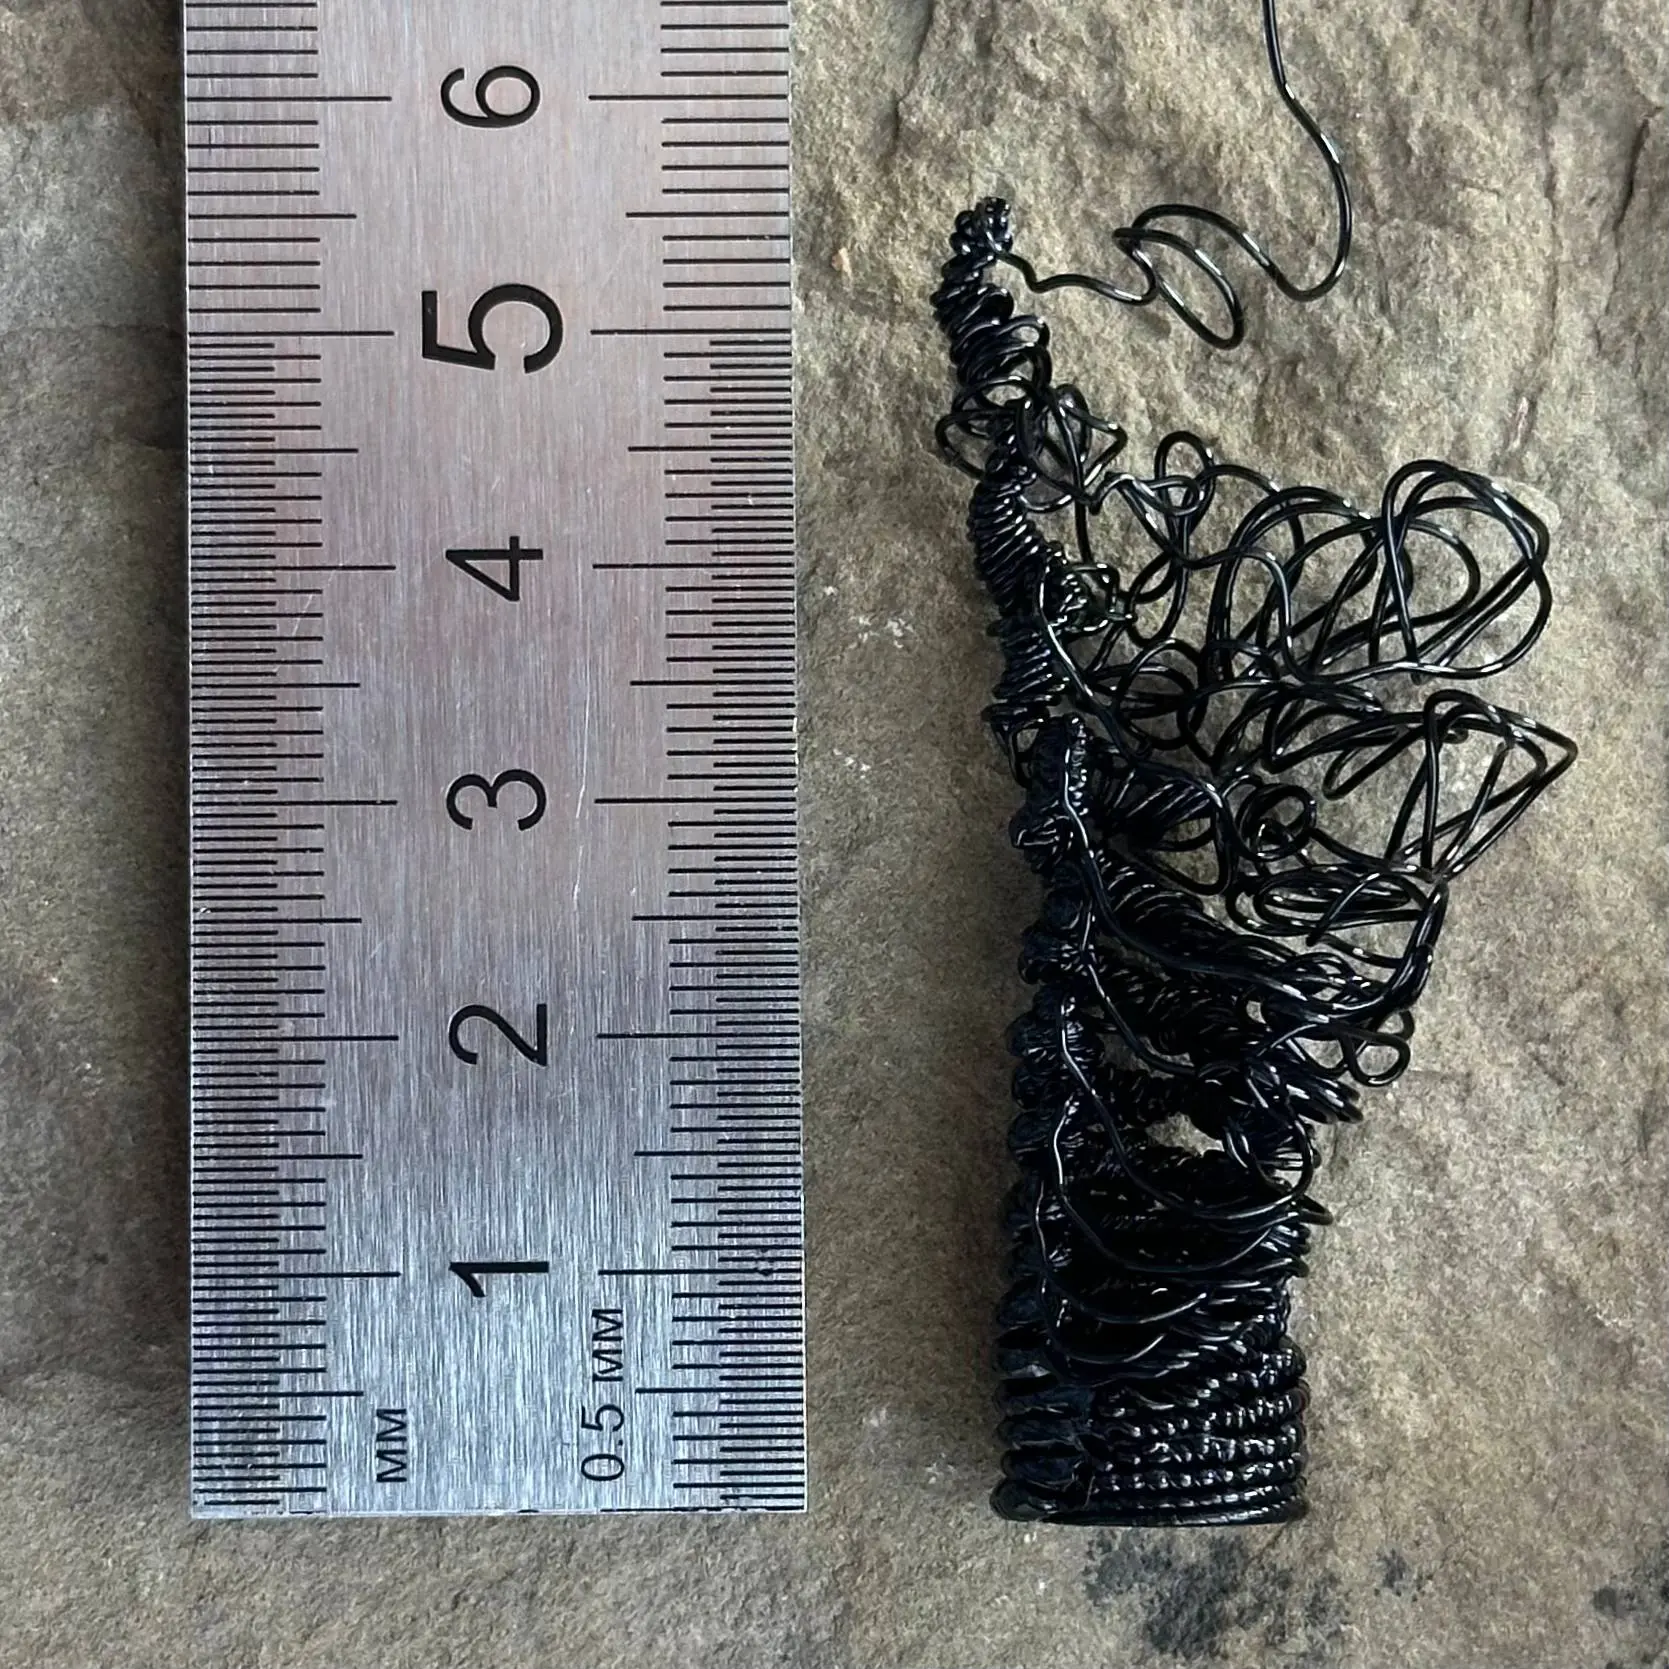
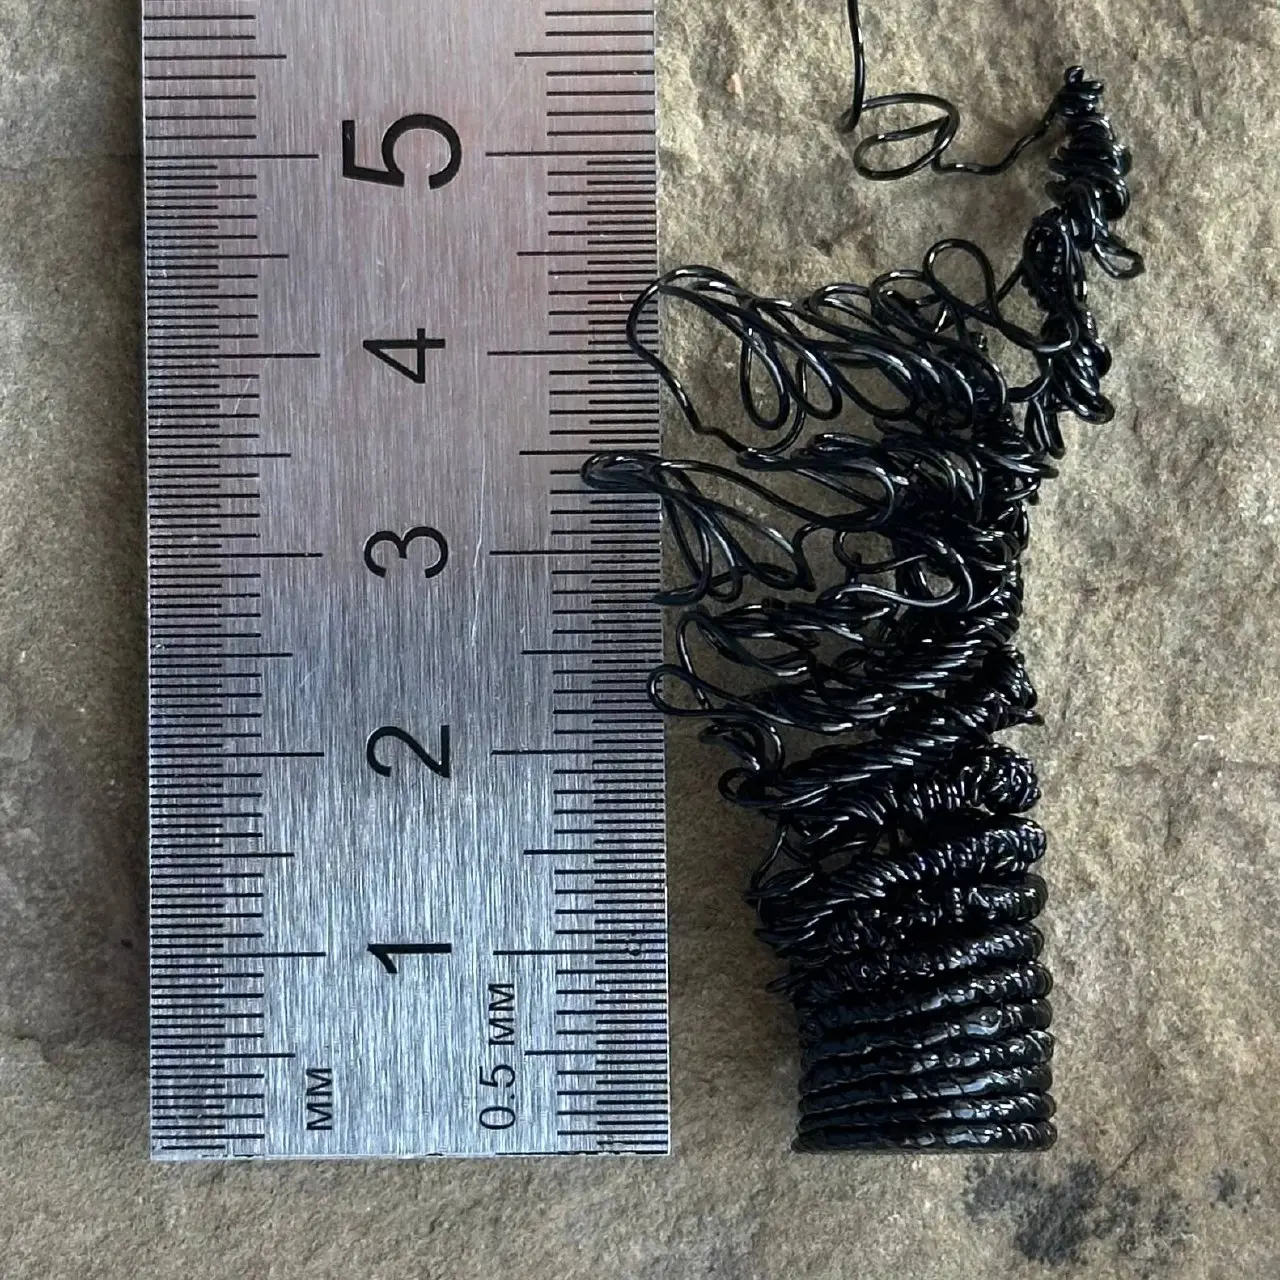
A droplet wall: droplet volume increases within each revolution, while the spiral pitch gradually grows from bottom to top. In the upper section, the connecting strand could no longer hold the droplets together, and the structure unraveled into loops.
Technical parameters
Geometry
- Cylinder radius: 5 mm (10 mm diameter)
- Total print height: 60.2 mm (0.2 mm base + 60 mm droplet wall)
- Angular step between droplets: 10°, or 36 droplets per revolution
- Horizontal arc distance between adjacent droplets at a 5 mm radius: 0.873 mm
Spiral pitch
Vertical rise per revolution:
- from 1 mm at the bottom to 10 mm at the top
- one smooth linear transition over the full height
Droplet volume
- From 0.01 mm³ to 5 mm³
- Angular sawtooth: linear growth over the full revolution (0→360°), followed by an abrupt reset to the minimum at the start of the next revolution
- Each droplet is extruded in place without nozzle movement: the nozzle travels to the point and extrudes while stationary
Droplet extrusion speed
- Constant: 50% of the donor filament profile's maximum volumetric flow. For PETG on the P1S this is 12 mm³/s, so the experiment uses 6 mm³/s regardless of droplet size
- Converted to filament feed for 1.75 mm filament: 2.5 mm/s; in G-code this is
F150
Connecting strand
It holds the droplets together around the circumference; without it, the structure cannot stand.
- Width: 0.35 mm
- Cross-section height: 0.2 mm
- Volume per millimeter of travel: 0.07 mm³/mm
- Travel speed: 15 mm/s
- Independent of spiral pitch, so its thickness remains constant
Base
- Solid disk for bed adhesion
- Spiral from center to edge, with a 0.5 mm line width and 0.2 mm height
- The number of turns is chosen for approximately 10% overlap, leaving no gaps
Donor: L-profile by Justagwas
Material: PETG
Printer: Bambu Lab P1S
Nozzle: 0.4 mm
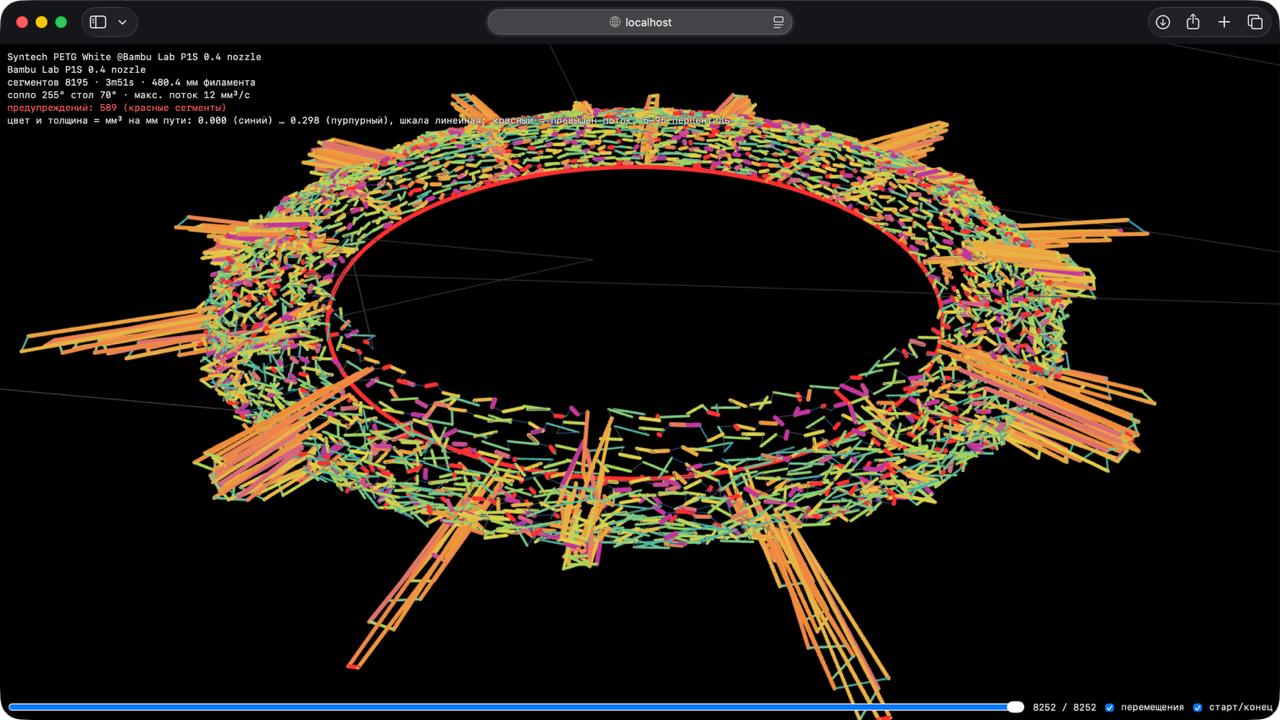
I'm returning to these experiments after a long break. I started by vibe-coding a new setup that takes print settings from a donor 3MF file, replaces its G-code with procedural code, and generates a web preview.
I didn't think I'd manage to print anything today, but here's what came out! The wall angle was too steep, so the filament didn't fuse properly. The little rays fused better.

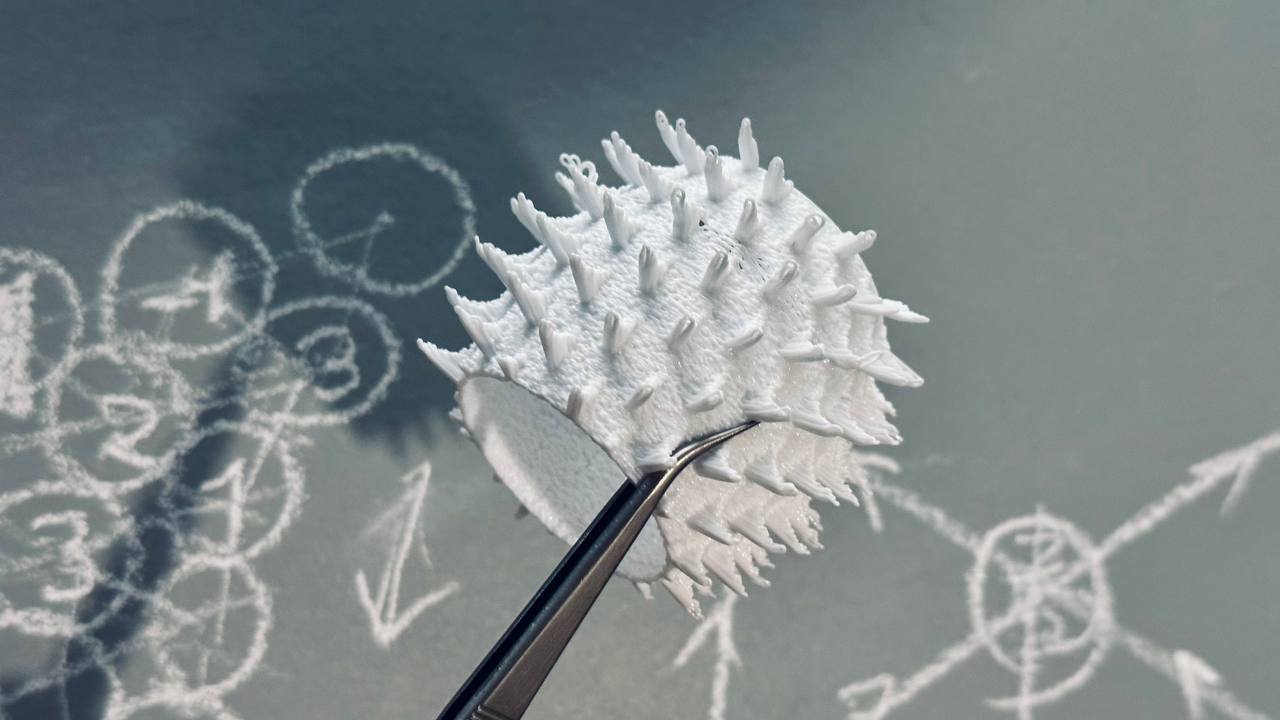
Geometric organics. I wanted to make something tactilely interesting, I think it worked out.
This is the third attempt: first had over-extrusion, second melted without a fan. Turns out I hadn't been using a fan before, and it worked fine. Midway through printing, the spool got stuck, but a miracle happened and it finished printing.
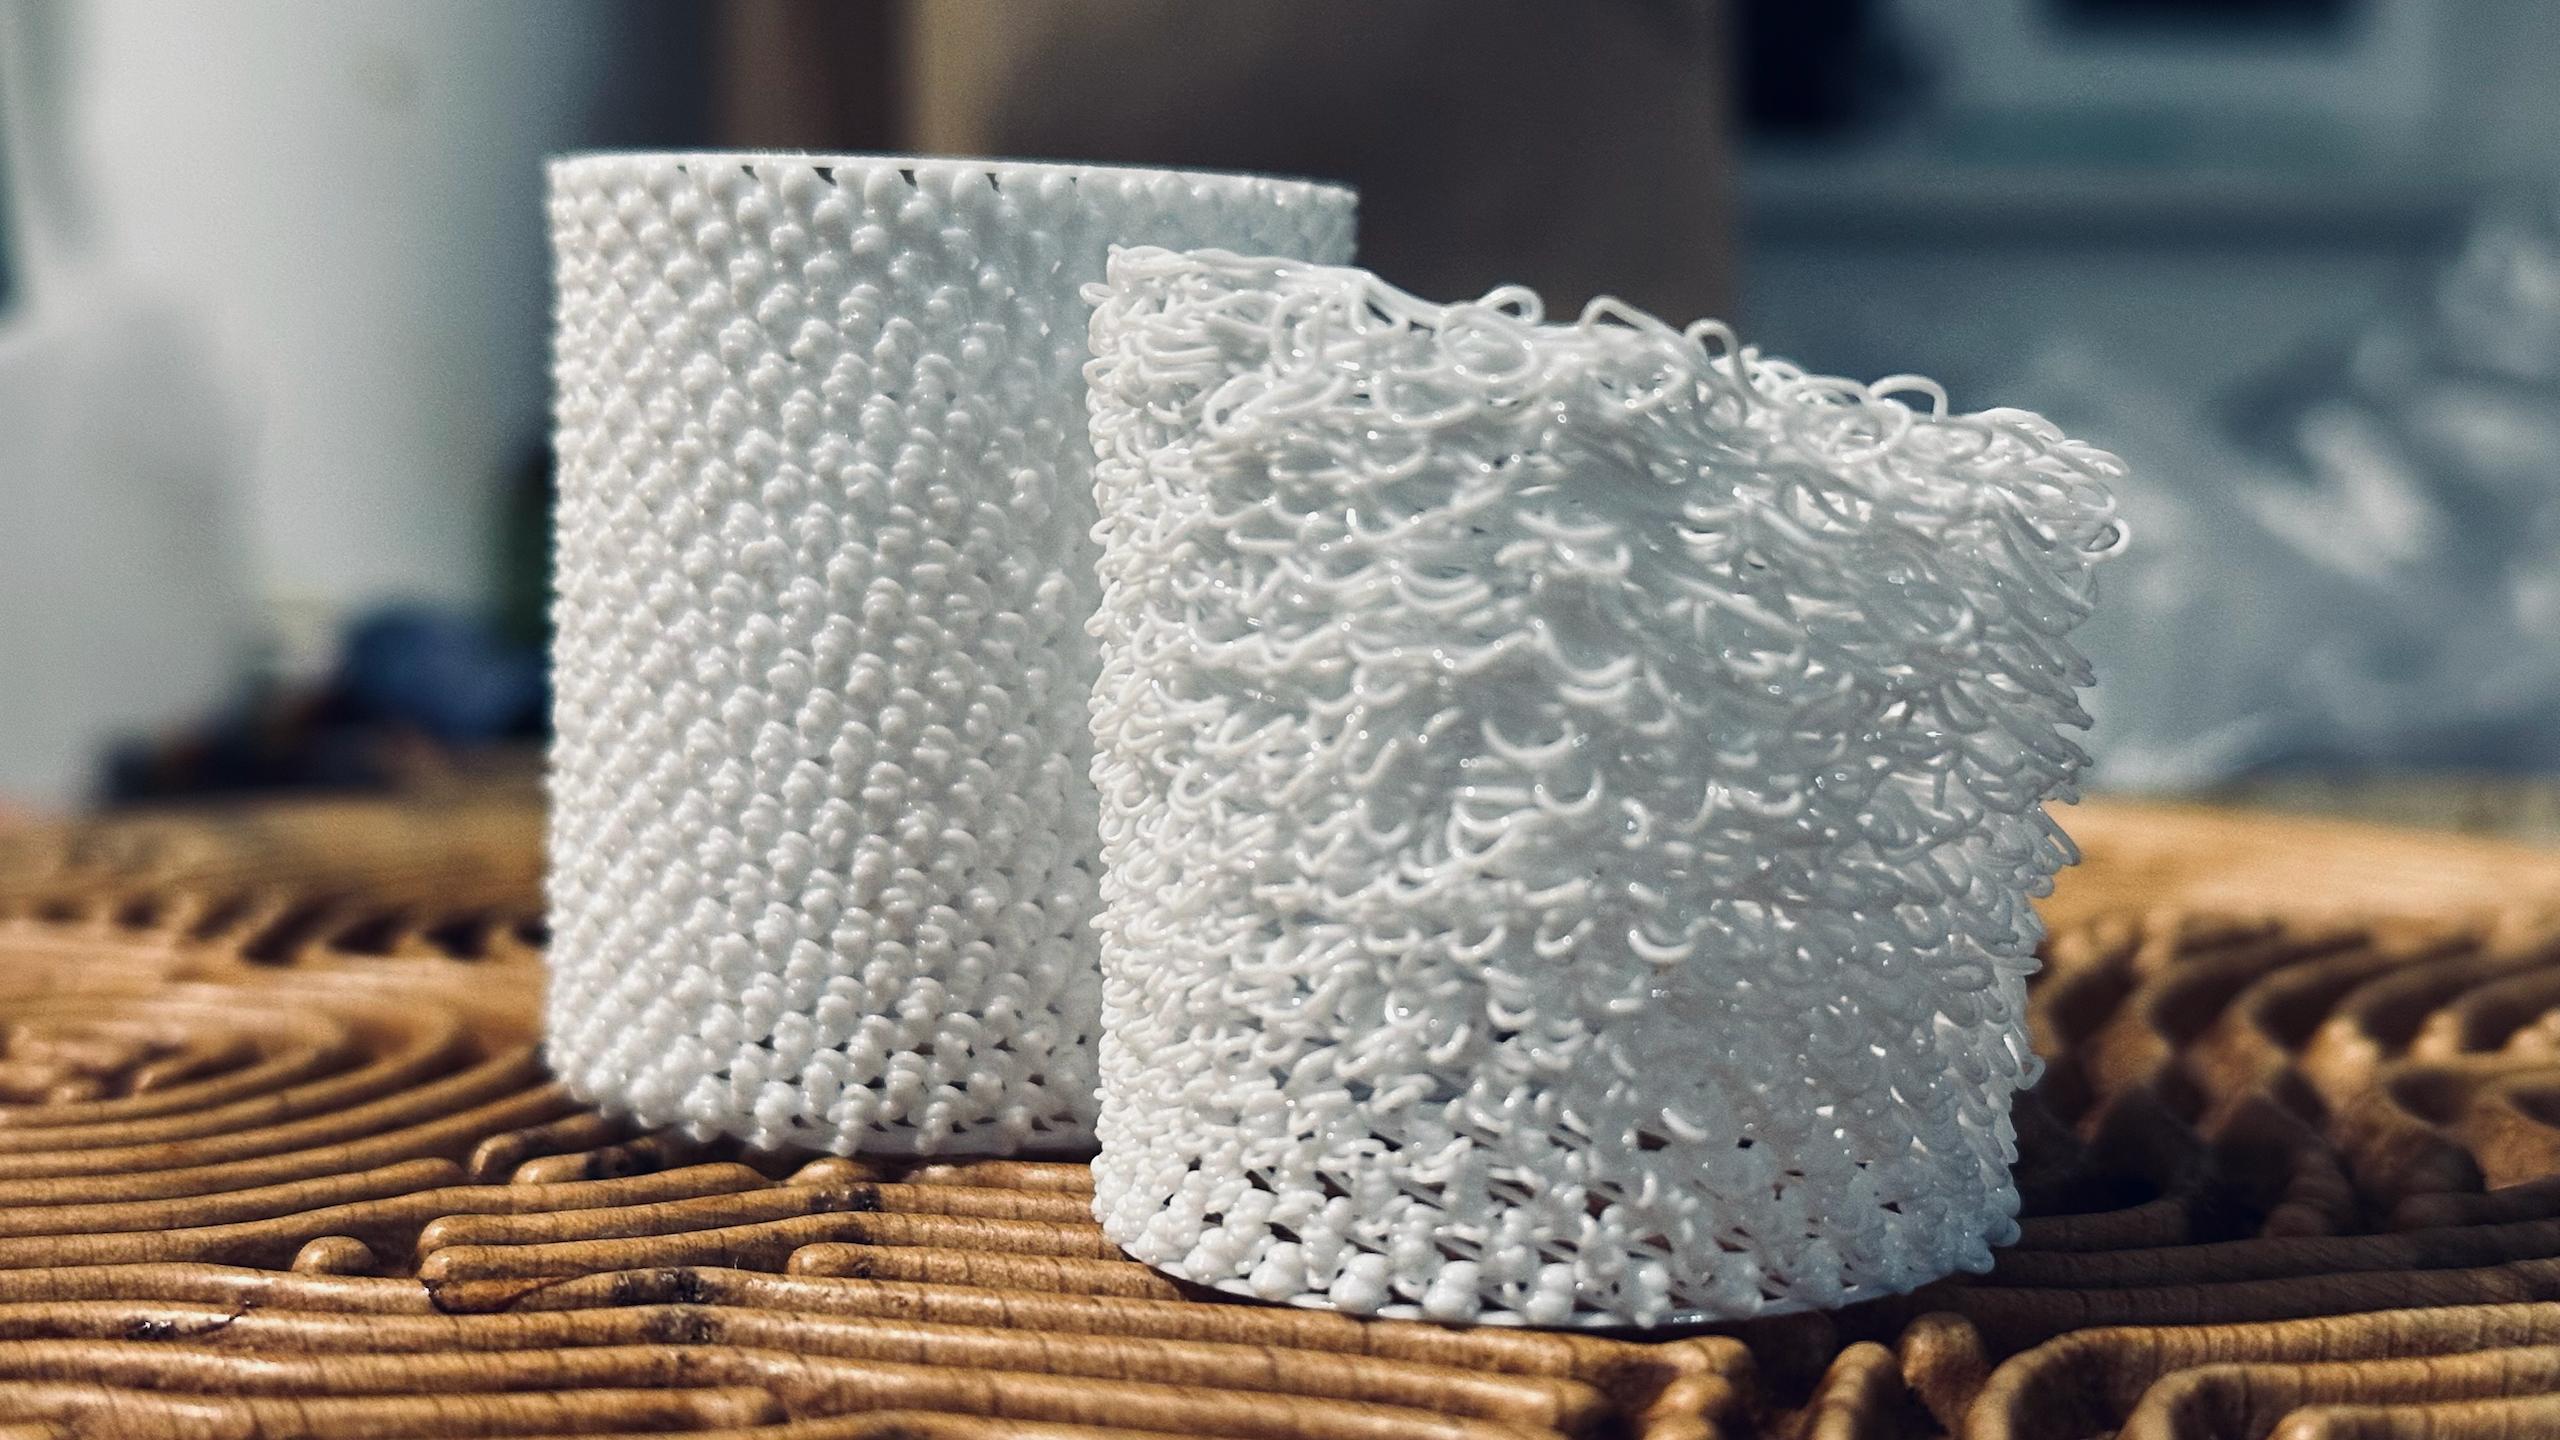
The transition to 3D turned out to be harder than I thought. First attempt was a disaster: the nozzle rose too fast and the wall couldn't keep up. But the second one stabilized — a sight to behold.
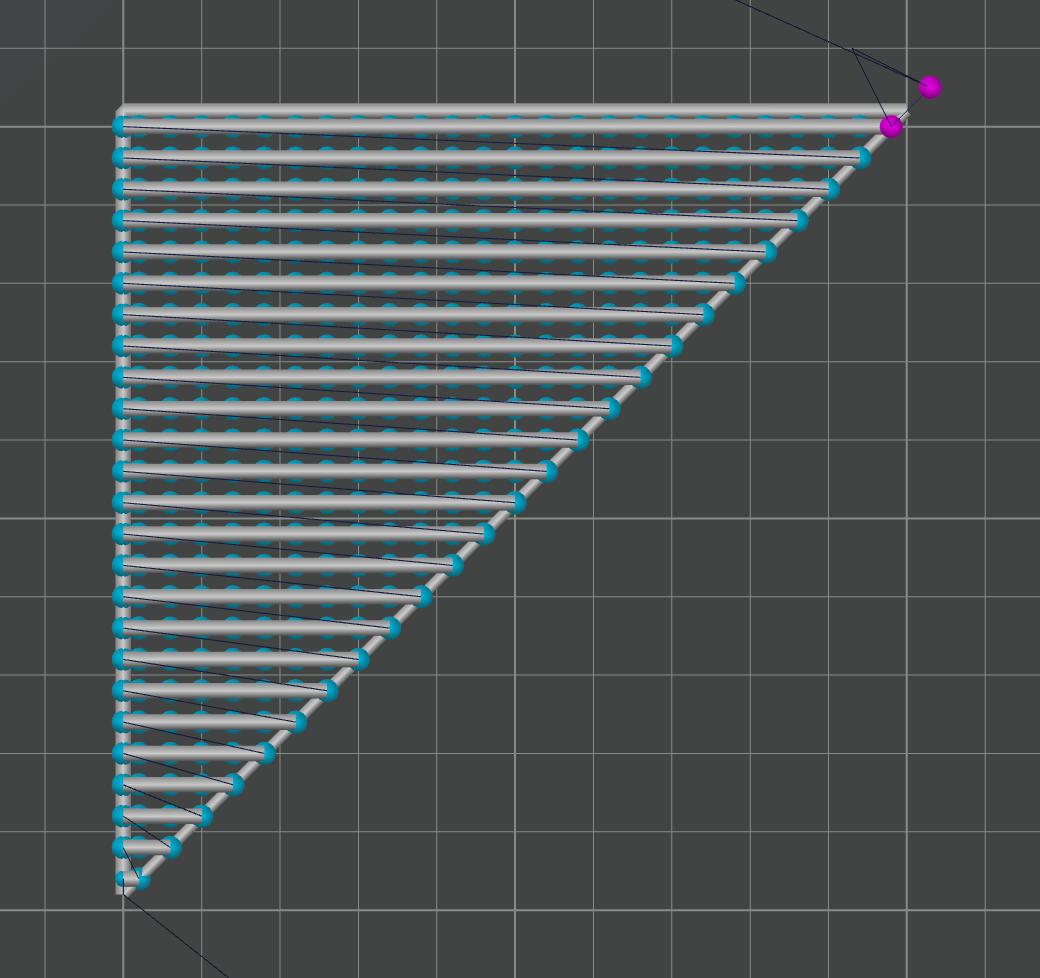
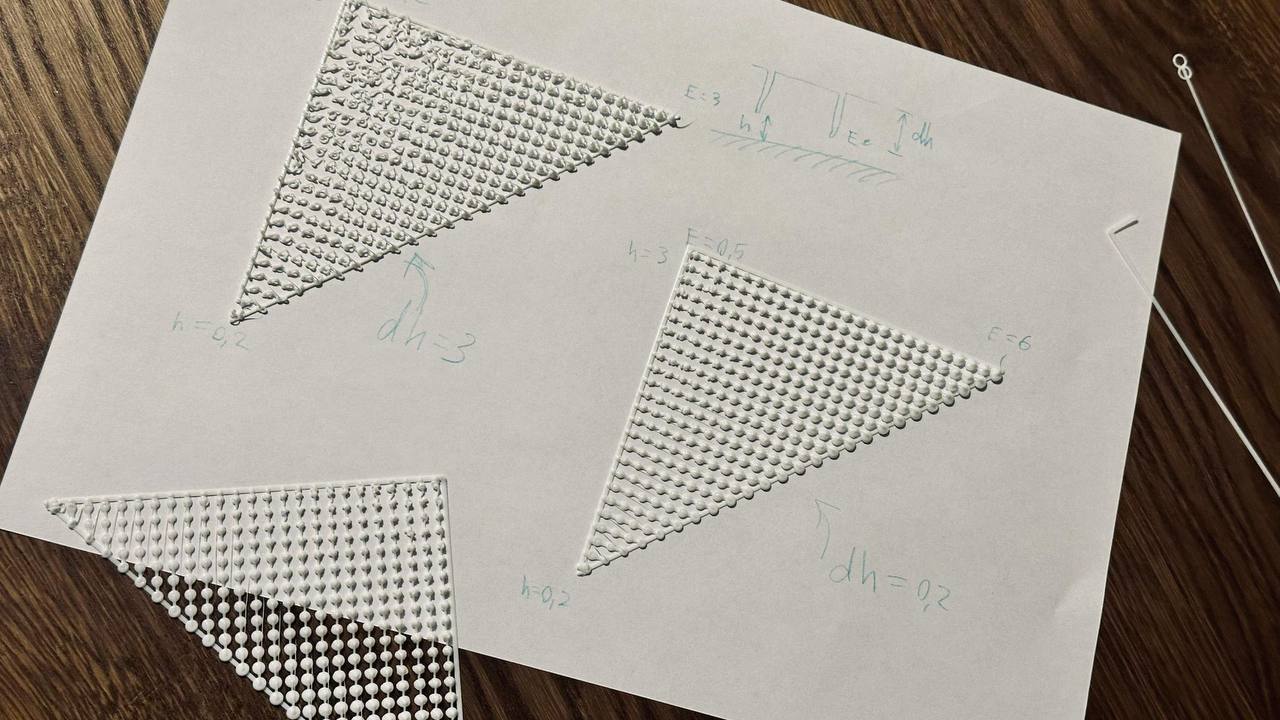
Decided to approach G-code generation systematically. Testing what happens with different heights and volumes of extruded plastic. Generated this trajectory with loops:
Got a matrix of bumps:
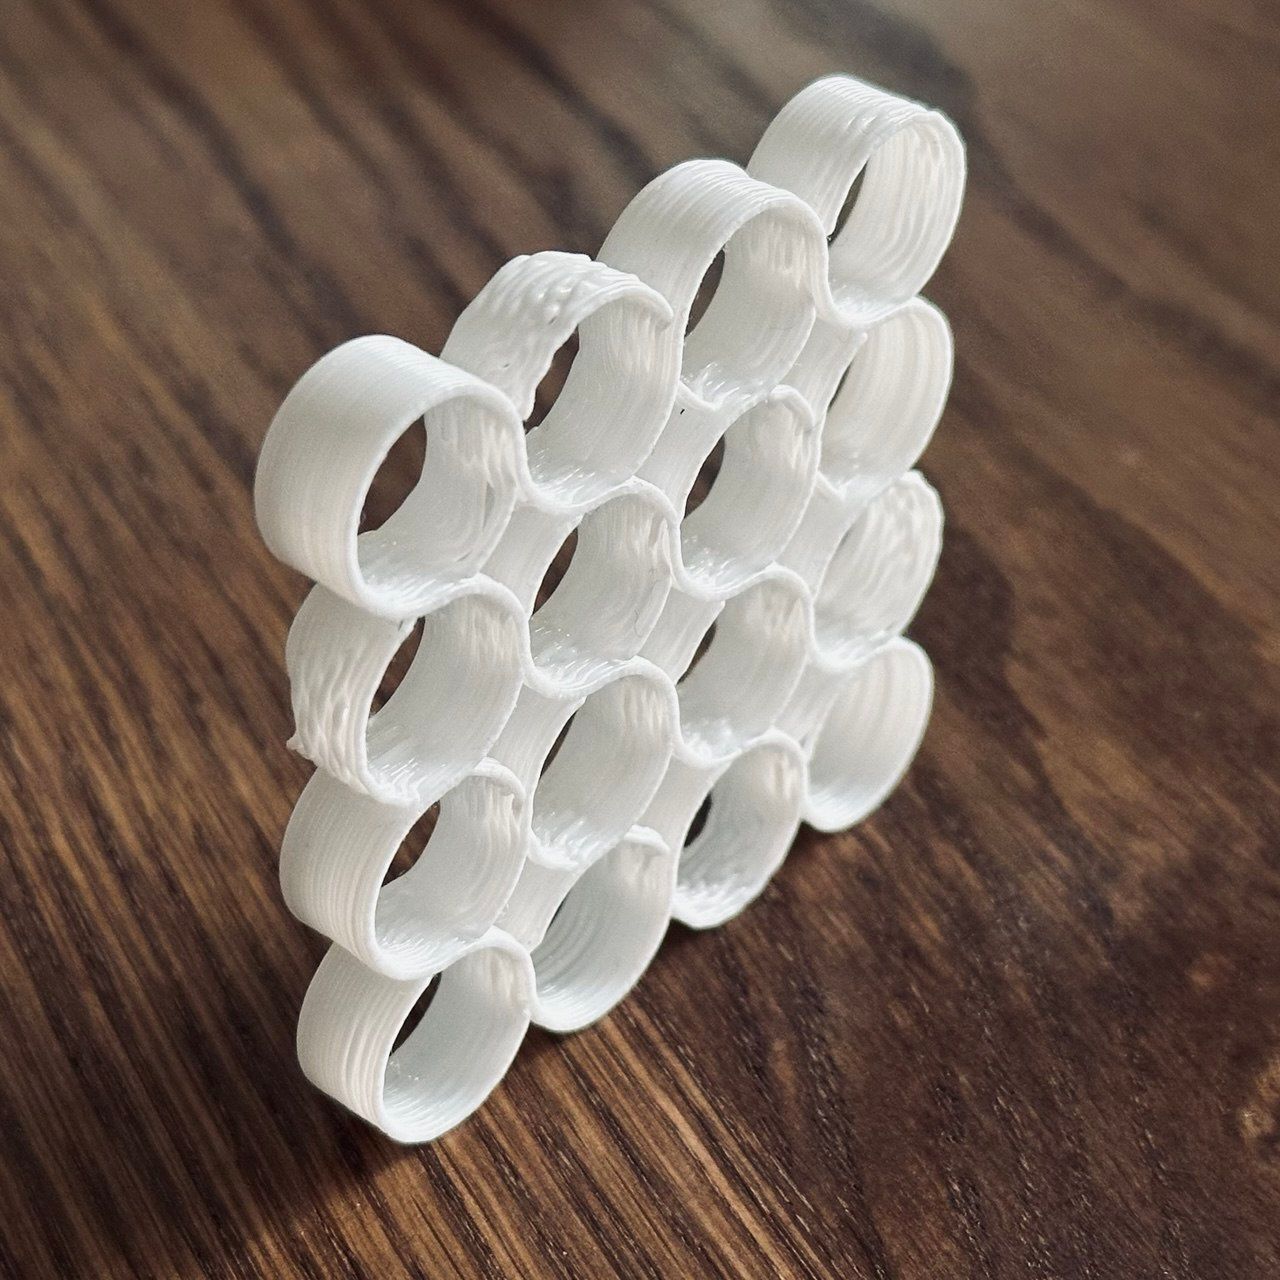
Another thing made with the same algorithm as yesterday's — a cellular automaton, but now packed into a hexagonal grid. Size is 4 cm.
The tubes fit tightly together, creating this honeycomb-not-honeycomb texture. I like how the print layers add organic feel — like some kind of coral.
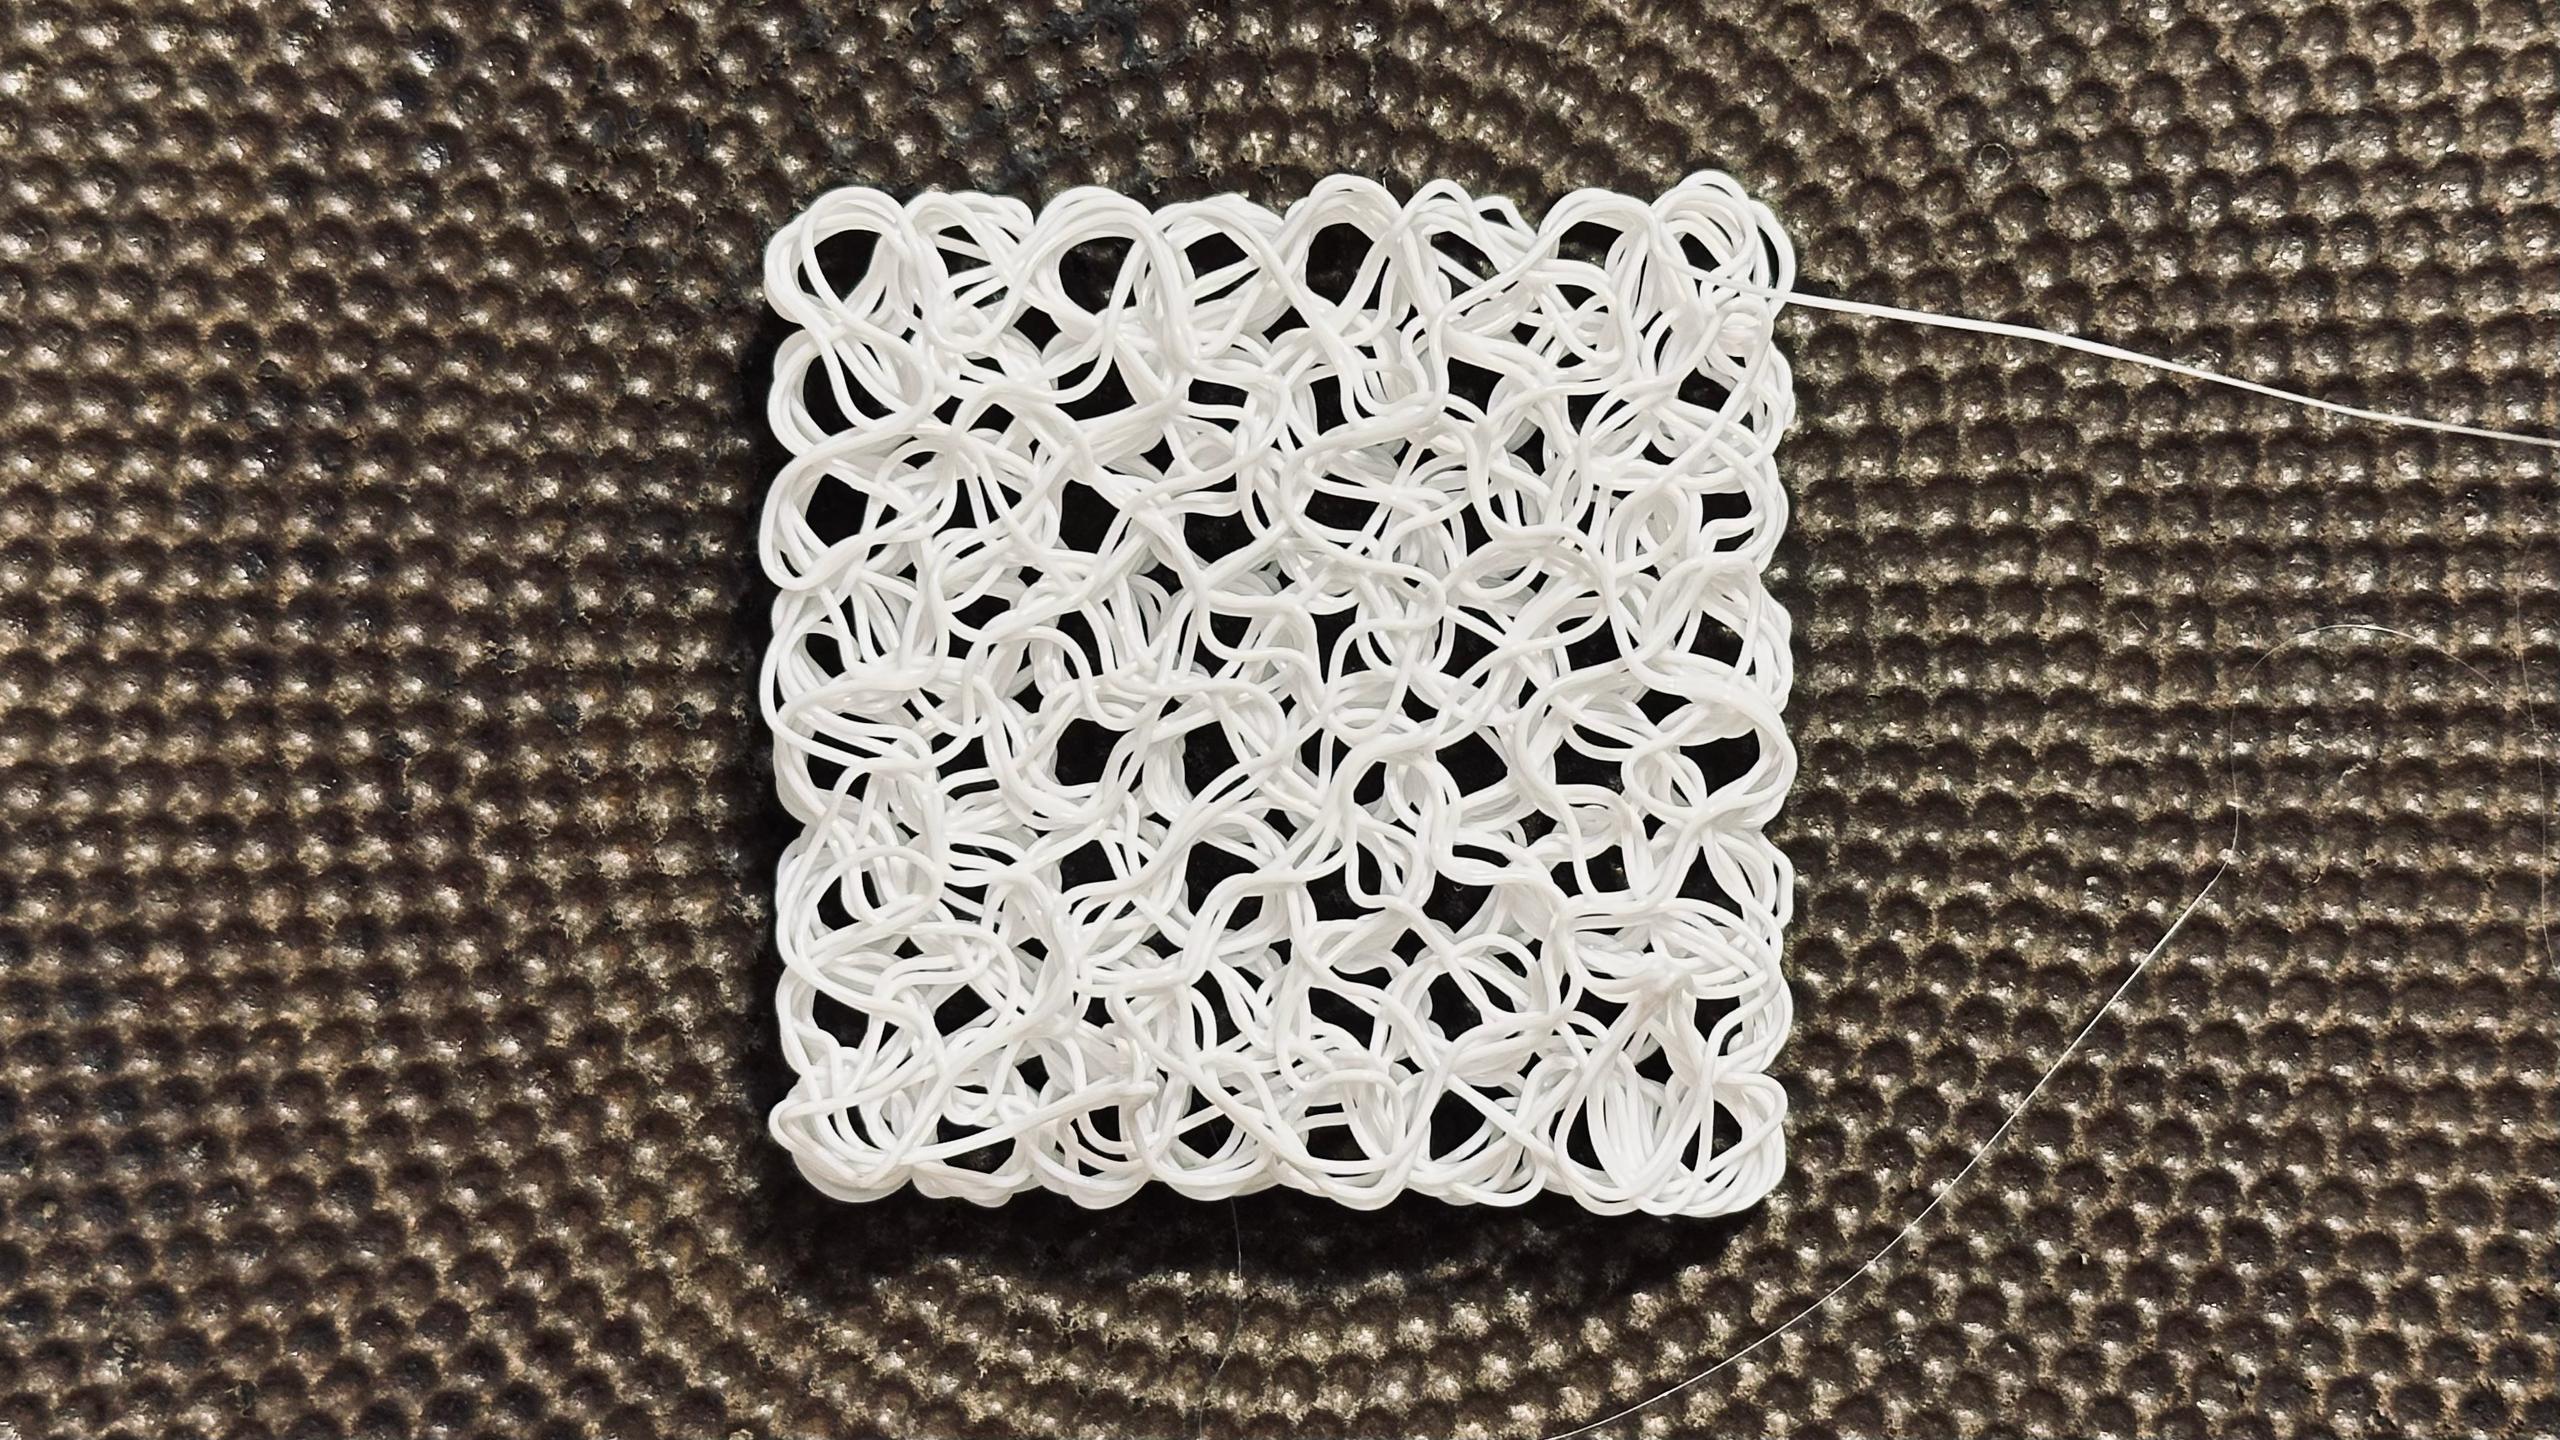
Put disproportionate effort into making this ramen noodle. First I ported yesterday's snake to G-code, then spent ages convincing the printer to extrude at least some plastic. Eventually it worked, I still don't understand why. Some non-obvious G-code magic. Or maybe I just haven't learned the ropes yet and the magic there is all obvious.
Learning to control a 3D printer through G-code. This is the language computers use to tell printers what to print — a long list of commands where to move and how much plastic to extrude.
Usually G-code is made by slicers: they take a 3D model, slice it into layers, and generate commands. But you can write G-code by hand! Then you can print not layer by layer, but up and down — creating lacy structures that a slicer couldn't handle.
Though if you mess up a digit, the printer will crash into the part at full speed and wreck everything with terrible sounds. Don't ask how I know this.
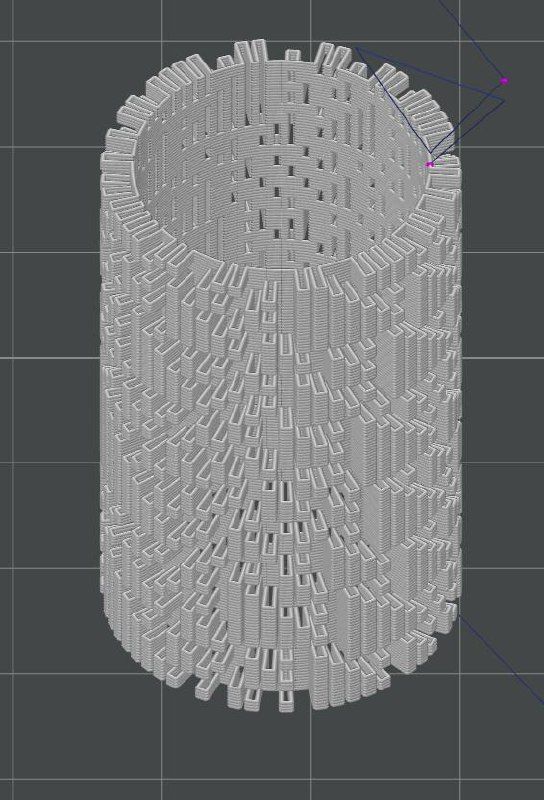
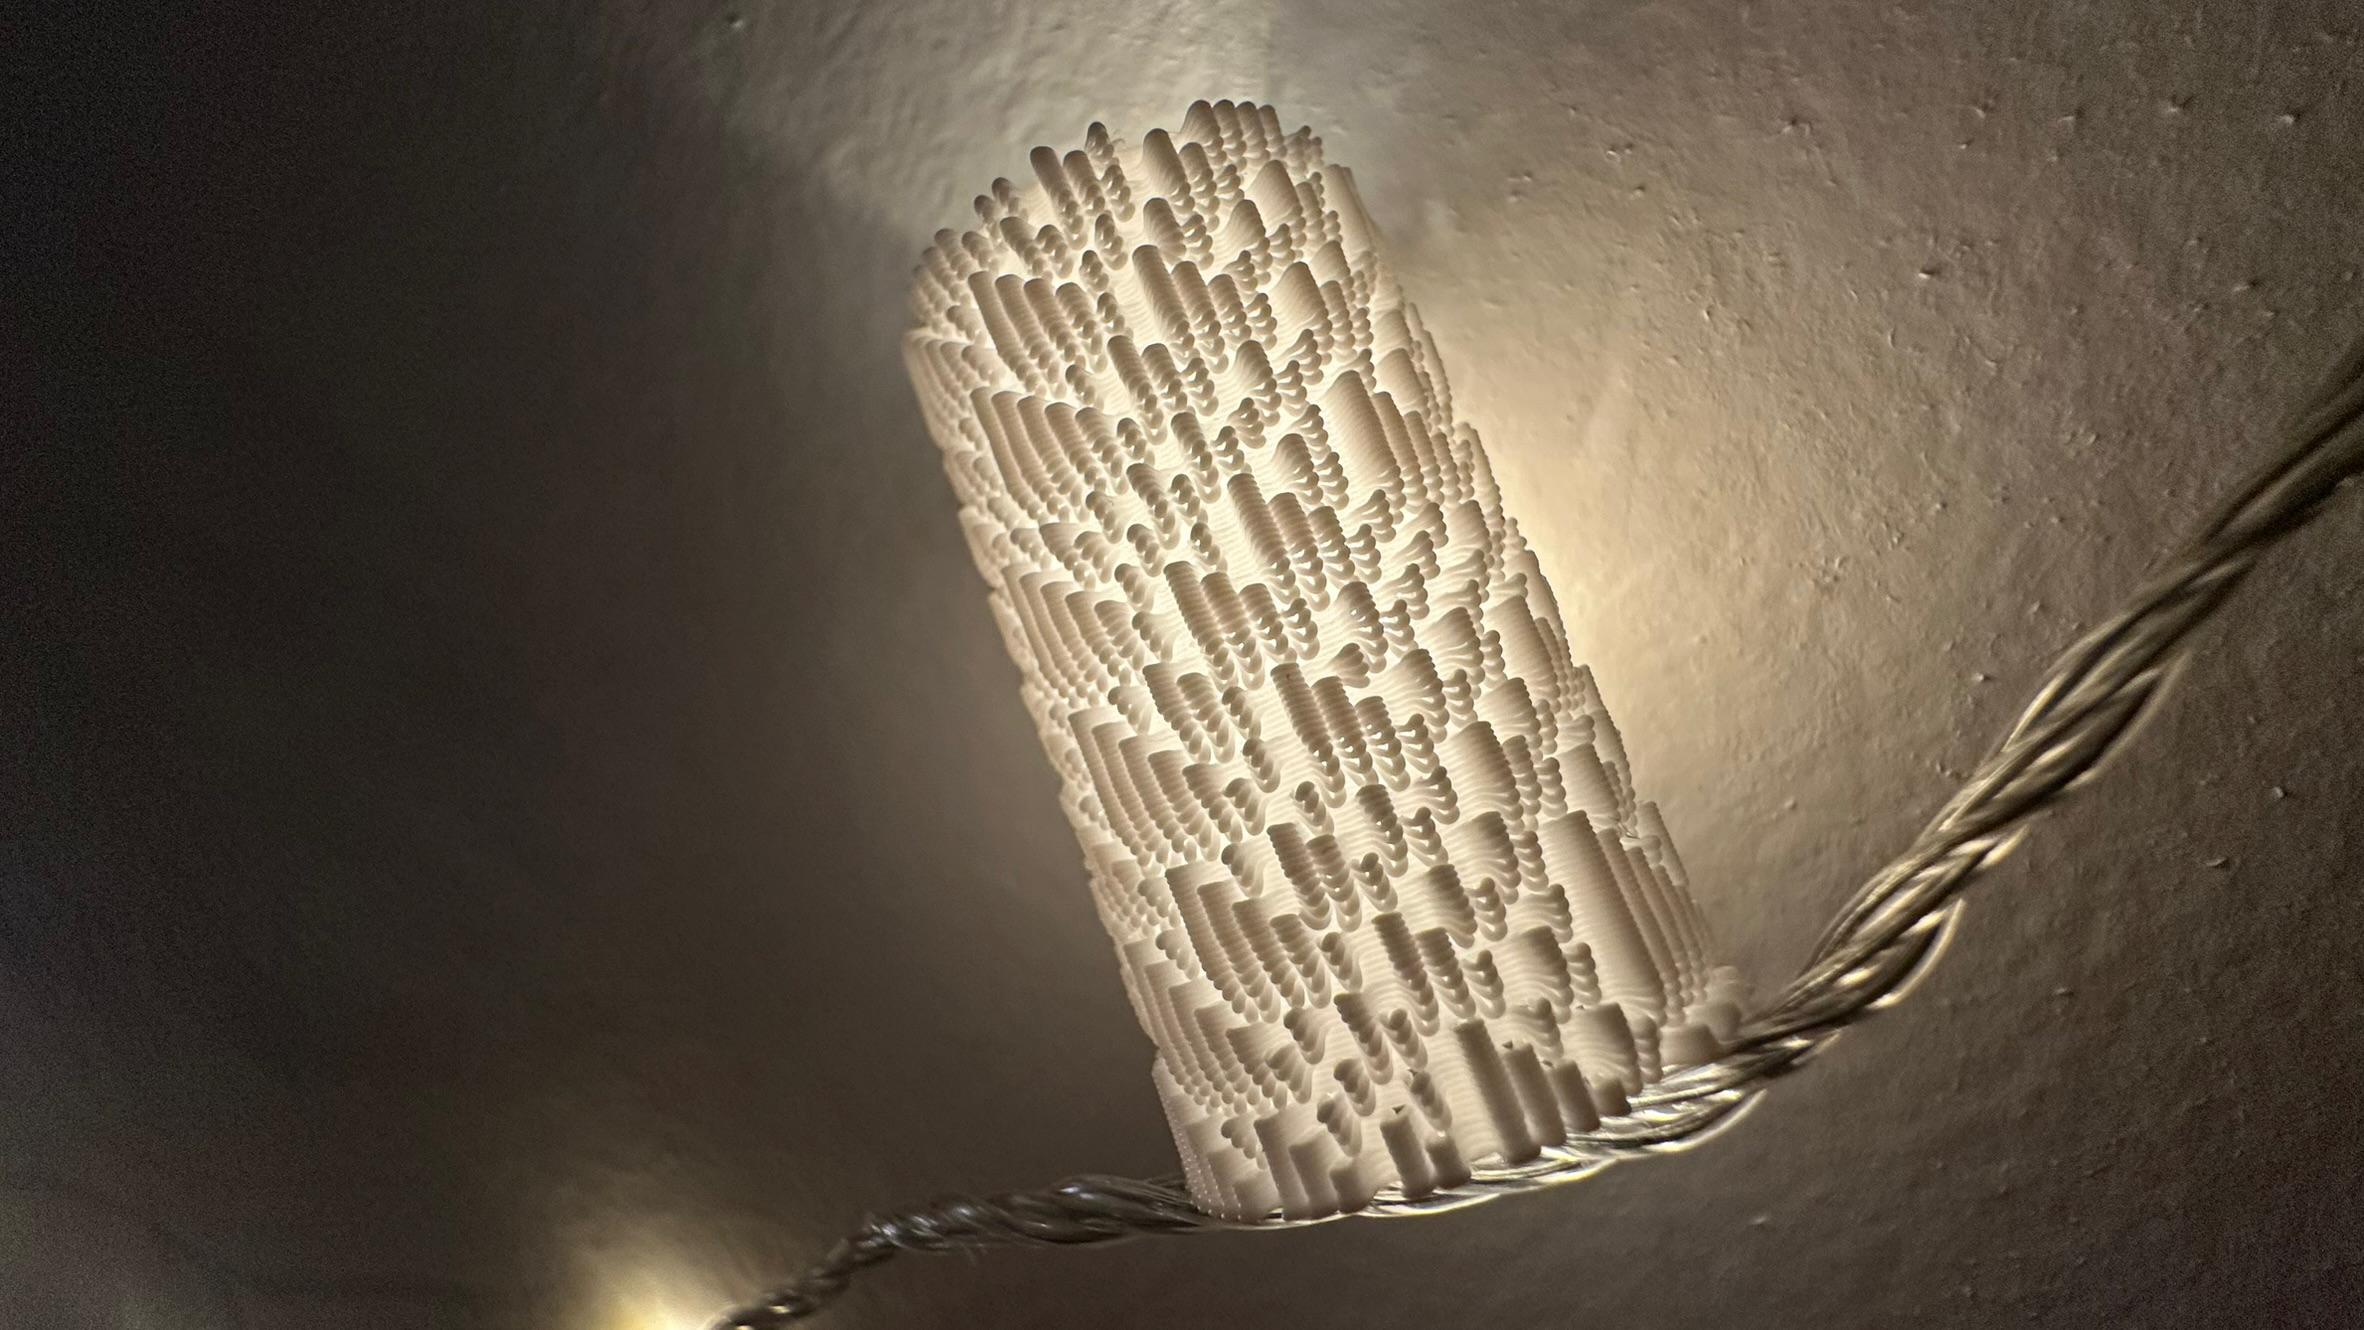
Tinkered for two days, got something cool. This is a one-dimensional cellular automaton — different steps are visible along the cylinder axis. I like the texture, like it's knitted.
In G-code viewer it looks like this
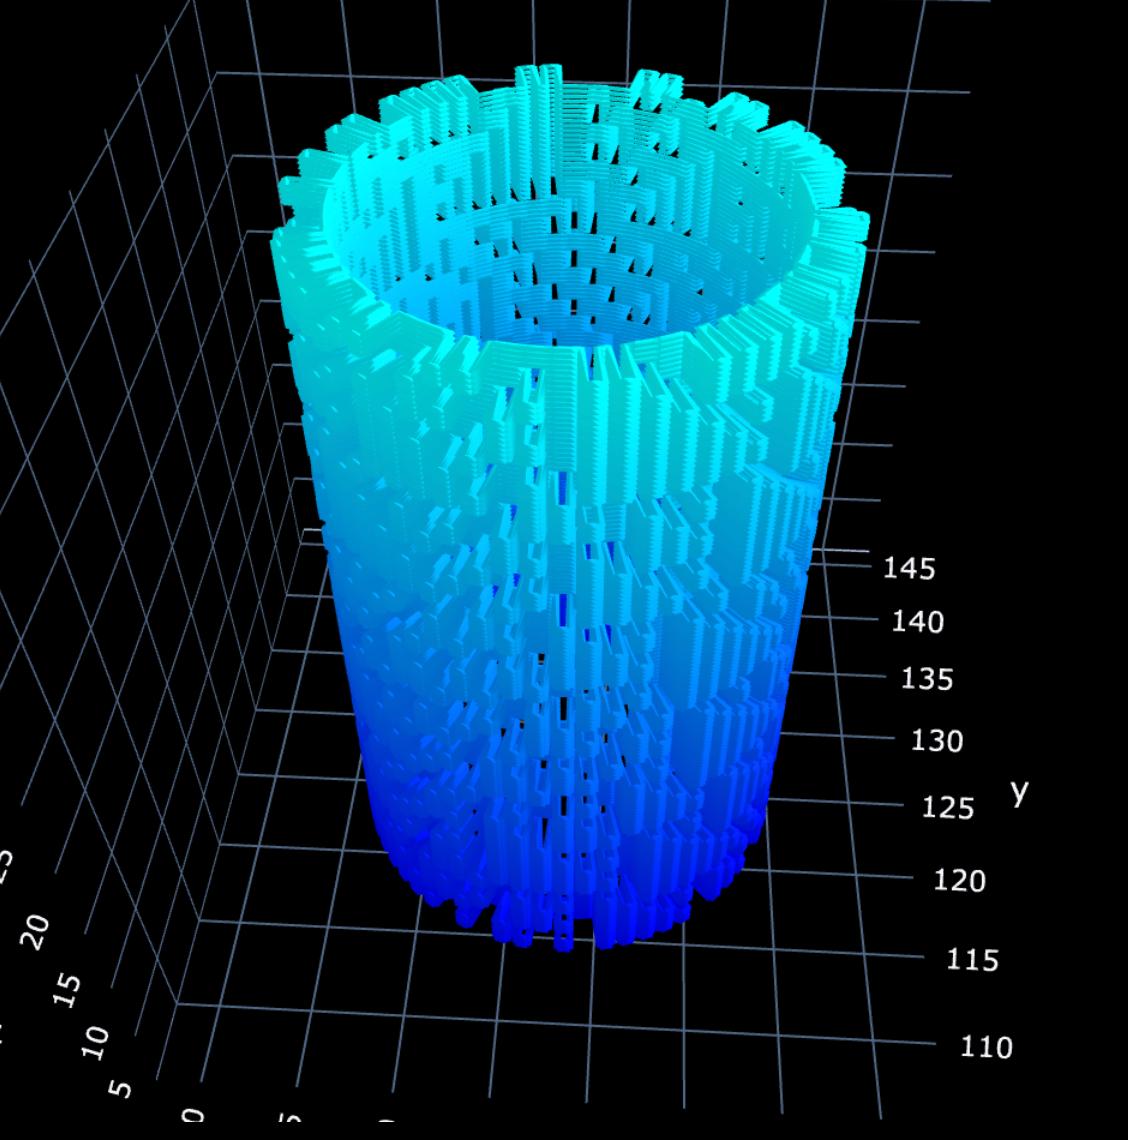
And in slicer like this